Confirm your cartridge or turntable model
Confirm your cartridge or turntable model. Compare the information published for the exact item and keep the product name or SKU for reference.
$32.00
Free standard US shipping
Contiguous 48 states & DC · 4–7 business days total
30-day returns
Merchant-paid return shipping. Read the policy
Questions about this item? [email protected]
The details
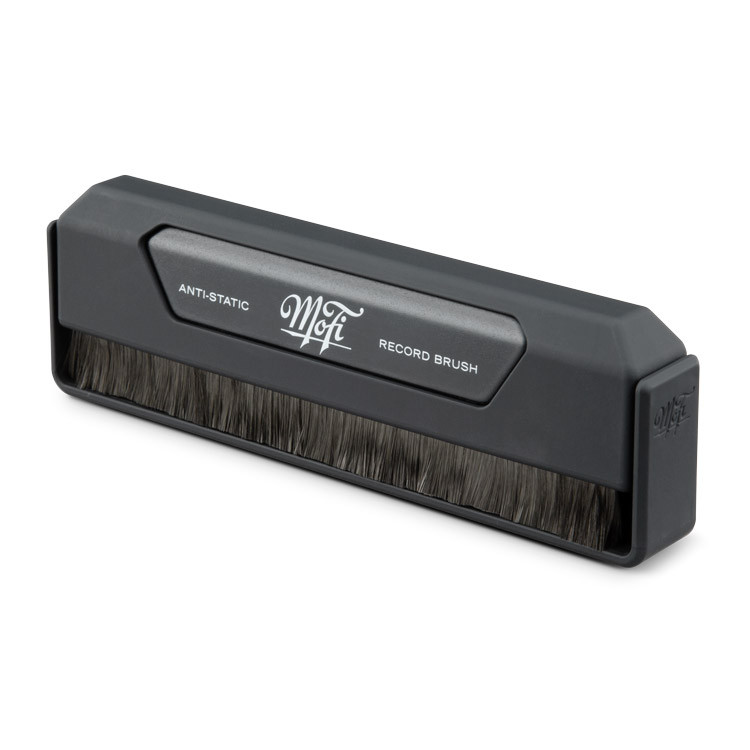
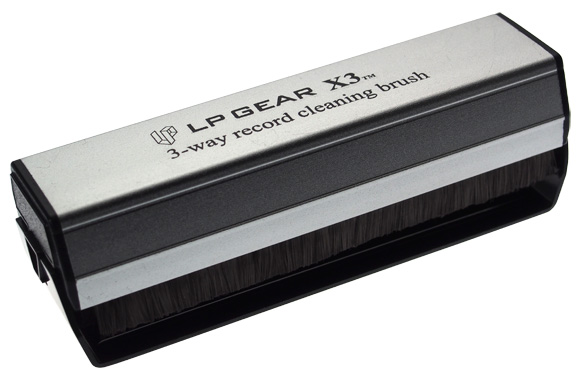
LP GEAR X3 RECORD CLEANING & ANTI-STATIC BRUSH RECORD CLEANER
Made in the same factory and production line as the highly rated and out-of-production Hunt EDA Mark 6 Record Cleaning Brush-Record Cleaner (recommened by Stereophile for many years as the record cleaning brush of choice), LP Gear continues to offer the
best record cleaning and anti-static brush in the world!
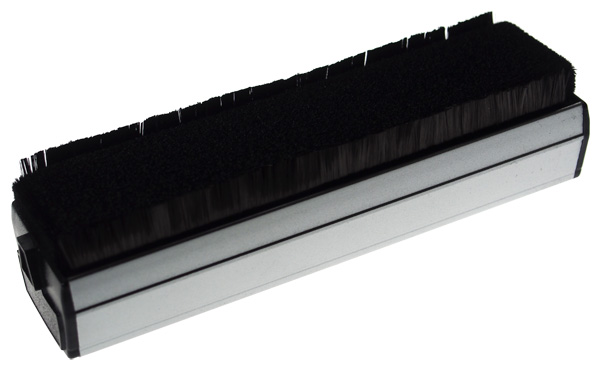
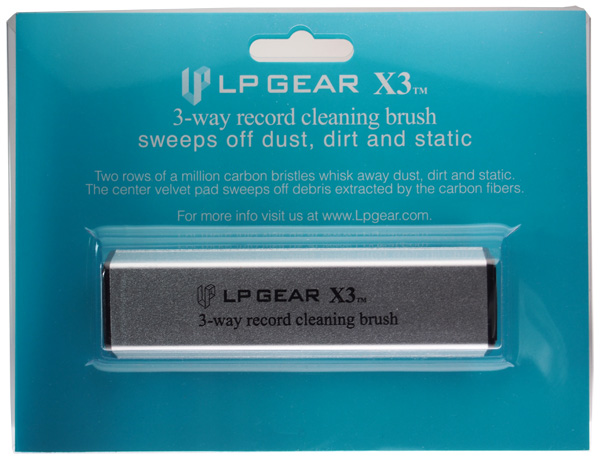
The LP Gear X3 is better than plain vanilla single row brush. It has two rows of high grade special carbon fiber bristles to whisk away dust, dirt and static. The center velvet pad sweeps off the debris extracted by the carbon fiber bristles.
How to use the LP Gear X3 Record Brush
Set the LP Gear X3 straight across the record. Hold it by the sides to keep it in place. Use the brush's own weight, there is no need to apply pressure. Let the record spin under it for 2 rotations and as it turns slowly draw it to the outside and and slide off the record. It's that easy and simple. Rest the brush on the protective cradle when not in use. The X3 can be used by itself or with a record cleaning solution of your preference.
For Extra Cleaning
For extra cleaning motion, start with the brush bristles for a rotation, and then angle the brush from the bristles to the felt. The felt pad will pick up dirt released and uncollected earlier.
How to Clean the X3 Brush and Pad
Use a new soft toothbrush to lightly brush the velvet pad and bristles. Some like to wipe the pad and bristles with their fingers which carry leftover lotion, oil, dirt and bacteria from handling other materials. We recommend
a soft toothbrush.
________________________________________________
Footnote 1: " Record Cleaning Brush I should get… ", Audiokarma.org. A brief thread on record brushes.
Footnote 2: " Any experience with the LP Gear X3 brush? ", Steve Hoffman Music Forums. Discussion seeking user experience and effectiveness of LP Gear X3 record brush.
Know the fit
Set the LP Gear X3 straight across the record. Hold it by the sides to keep it in place. Use the brush's own weight, there is no need to apply pressure. Let the record spin under it for 2 rotations and as it turns slowly draw it to the outside and and slide off the record. It's that easy and simple. Rest the brush on the protective cradle when not in use. The X3 can be used by itself or with a record cleaning solution of your preference.
Use a new soft toothbrush to lightly brush the velvet pad and bristles. Some like to wipe the pad and bristles with their fingers which carry leftover lotion, oil, dirt and bacteria from handling other materials. We recommend
Choose & use with care
Confirm your cartridge or turntable model. Compare the information published for the exact item and keep the product name or SKU for reference.
Compare the part code and dimensions. Check the selected listing and variant, including the supplied components before ordering.
Follow model-specific handling instructions. Use the directions supplied for your selected item. Contact support if an important detail is missing.
Follow the instructions supplied for the exact product. Features, limits and care directions are specific to the selected model.
Order preparation takes 1–3 business days, followed by 3–4 business days in transit: 4–7 business days in total. Standard shipping is free to the contiguous United States and DC, with no minimum order.
Request a return within 30 calendar days after delivery. We pay return shipping. After receipt, inspection and initiation of an approved refund take 5–7 business days.
Before you decide
Confirm your cartridge or turntable model. Read the actual item description, included parts and options. The collection contains different models; a feature stated for one item should not be assumed for every product.
Compare the part code and dimensions. Compare the dimensions and compatibility stated for the selected item with the space or equipment you intend to use. If a required measurement is absent, send the product name or SKU to [email protected] before purchasing.
Available choices are shown on the individual product page. Select the actual option labels before adding a variable product to your cart. Photos and specifications should be read together with that choice; availability is specific to the selected configuration.
Follow model-specific handling instructions. Follow the instructions supplied for the exact model. Do not assume that all items have the same materials, installation method, care directions or intended use.